


In stock | Ready to Ship
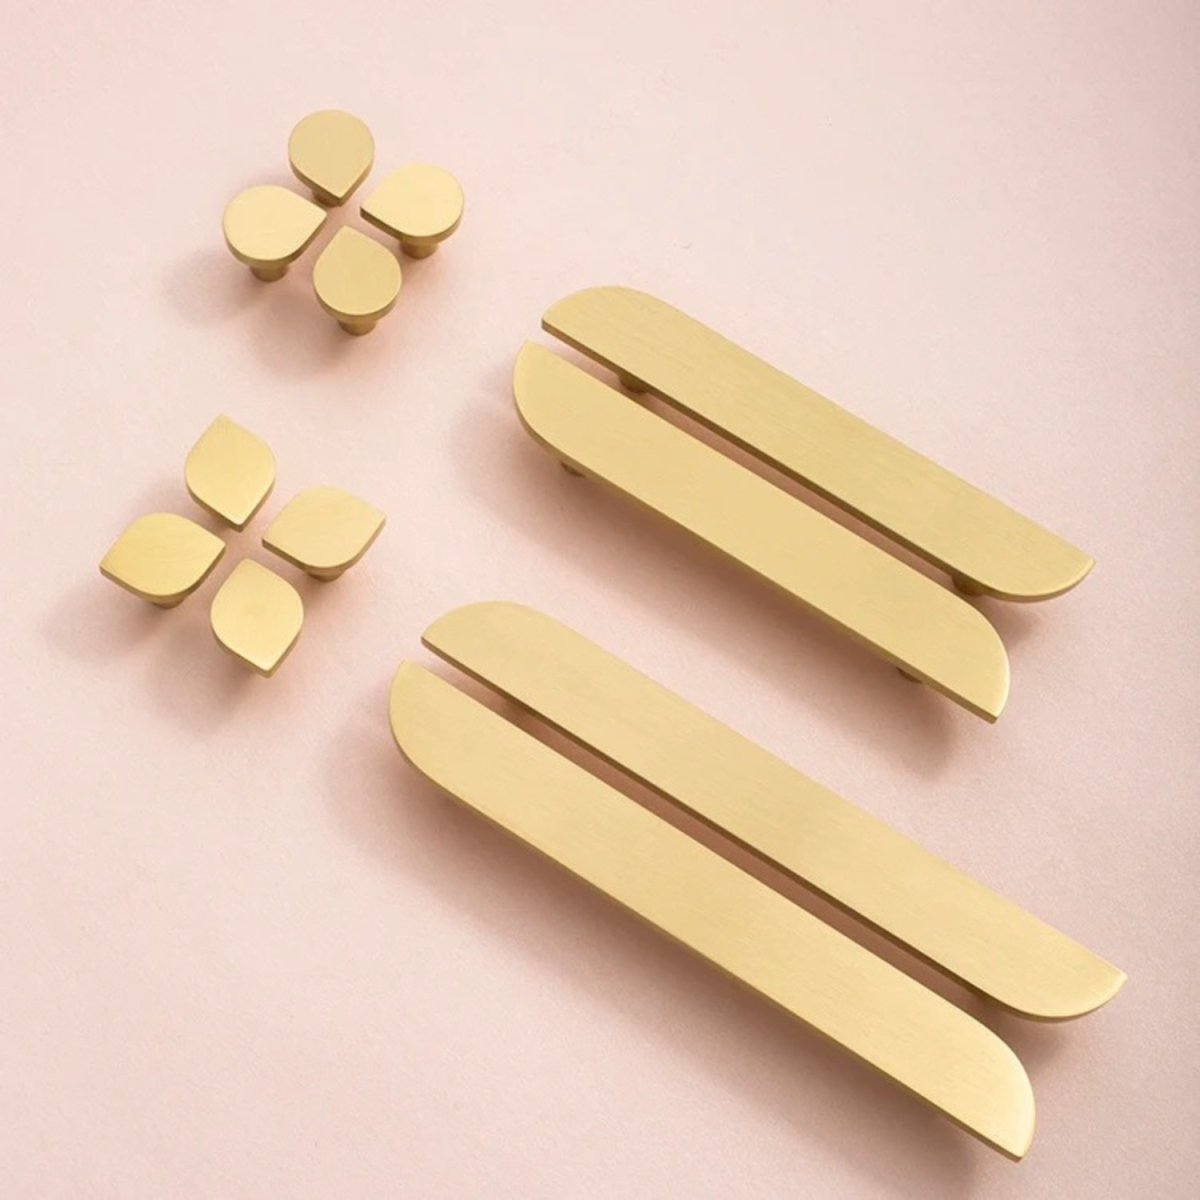
Halix Knob & Pull Bar
What You’ll Love:
🖤 Solid Brass Craftsmanship: Durable, high-quality brass delivers lasting strength with timeless appeal
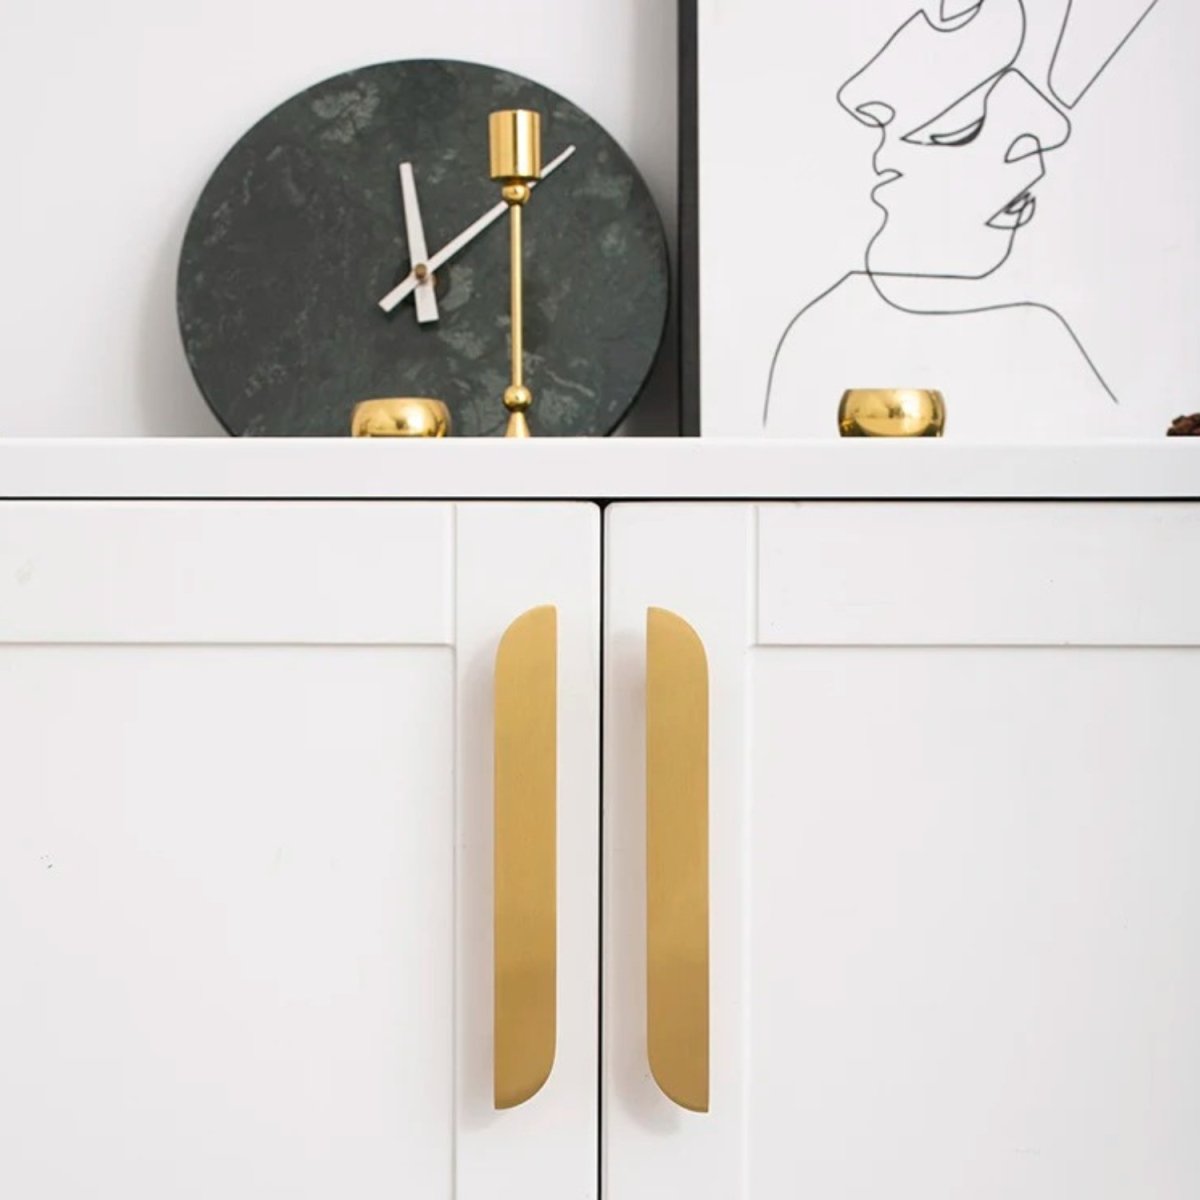
✨ Warm Elegant Finish: Golden tones add a refined sense of luxury across cabinets, drawers, and doors
⭕ Effortless Versatility: Designed to complement any room with easy installation for a seamless upgrade
Description
The Halix Knob & Pull Bar is a refined hardware accent designed to bring warmth, durability, and understated elegance to furniture and cabinetry. Crafted from solid brass, its clean form and balanced proportions introduce a subtle architectural presence that enhances interiors without overpowering them.
Suitable for cabinets, drawers, wardrobes, and doors, Halix offers a timeless finish that integrates seamlessly across a variety of spaces. Its dependable construction and versatile design make it a considered choice for interiors seeking long-lasting functionality paired with quiet sophistication.
- Weights & Dimensions
Knob: L0.8" x W1", 0.05lbs (0.023kg)
Knob: L0.8" x W1.1", 0.05lbs (0.023kg)
Pull Bar: L5.7" x W0.8", 0.29lbs (0.13kg)
Pull Bar: L6.8" x W0.8", 0.36lbs (0.161kg)
Pull Bar: L10.7" x W0.8", 0.54lbs (0.243kg) - Hole Spacing: L3.8", L5", L8.8"
- Material: Brass
- Finish: Gold
- Grip Style: Smooth
- Application: Cupboard, Cabinets, Drawer, Wardrobe
NOTE
1 in = 2.54 cm; 1 cm = 0.39 in
Details
Mounting Type:
Designed for surface installation on doors, drawers, or cabinetry. Refer to your product’s dimensions for proper placement and drilling points.
Tools You May Need
- Screwdriver (Phillips and flathead)
- Drill and drill bits
- Allen key
- Tape measure and pencil
- Level
- Chisel (for mortice lock installation)
- Screws and anchors
- Safety goggles
A. Cabinet Hardware
(Pull Bars, Knobs, Drawer Pulls)
Step 1: Mark Drilling Points Use a measuring tape and pencil to mark hole placements. For uniformity across multiple pieces, a template is recommended.
Step 2: Drill Holes Drill through the surface using a bit that matches the provided screw diameter. Keep the drill straight to avoid angle misalignment.
Step 3: Mount the Hardware Insert screws from the inside of the cabinet or drawer. Secure the hardware on the front face and tighten with a screwdriver — avoid over tightening.
Step 4: Align and Inspect Confirm straightness and spacing before fully securing.
B. Door Handle Hardware
B1: Thumb Lock or Dummy Handle
Step 1: Confirm Orientation Determine left-hand or right-hand door swing. Adjust handle orientation as needed.
Step 2: Mark Installation Height Mark desired height (typically 36–38 inches from the floor to the handle center). Align the mounting plate accordingly.
Step 3: Drill and Attach Drill pilot holes and secure the backplate and handle with the included screws. For dummy handles, install directly without latch mechanisms.
Step 4: Install Strike Plate (Thumb Lock Only) Mark latch location on the door frame. Chisel a recess if needed and screw the strike plate into place.
B2: Mortice Lock Handle
Step 1: Cut Mortice Pocket Using a chisel and drill, create a cavity in the door edge for the lock body. Use provided measurements for accuracy.
Step 2: Insert Lock Body Fit the lock body into the mortice cavity and attach it using screws through the faceplate.
Step 3: Install Handle Align the spindle through the lock and attach handles on both sides. Tighten using a screwdriver or included Allen key.
Step 4: Install Cylinder (If Applicable) Insert the key cylinder into the designated slot. Secure with the cylinder screw from the door edge.
Step 5: Mount Strike Plate Align with the latch mechanism and secure the strike plate to the door frame.
Important Tips
- Always double-check measurements before drilling.
- Use a level for consistent handle alignment across multiple units.
- If unfamiliar with mortice installation, consult a locksmith or professional.
- Ensure all moving parts operate smoothly before tightening screws.
- Dummy handles are for decorative or pull-only use — they do not engage latches or locks.
- Order Handling Time:
1–3 business days
- Transit Time:
14–22 business days after order placement
- Estimated Delivery Time:
15–25 business days
For full details, please refer to our Shipping Policy
We offer a 30-day return window. Simply contact our support team info@solincollective.com to initiate a return.
Claims submitted after this period may not be eligible for a refund or replacement.
Choose options
Safe payment on our website