


In stock | Ready to Ship
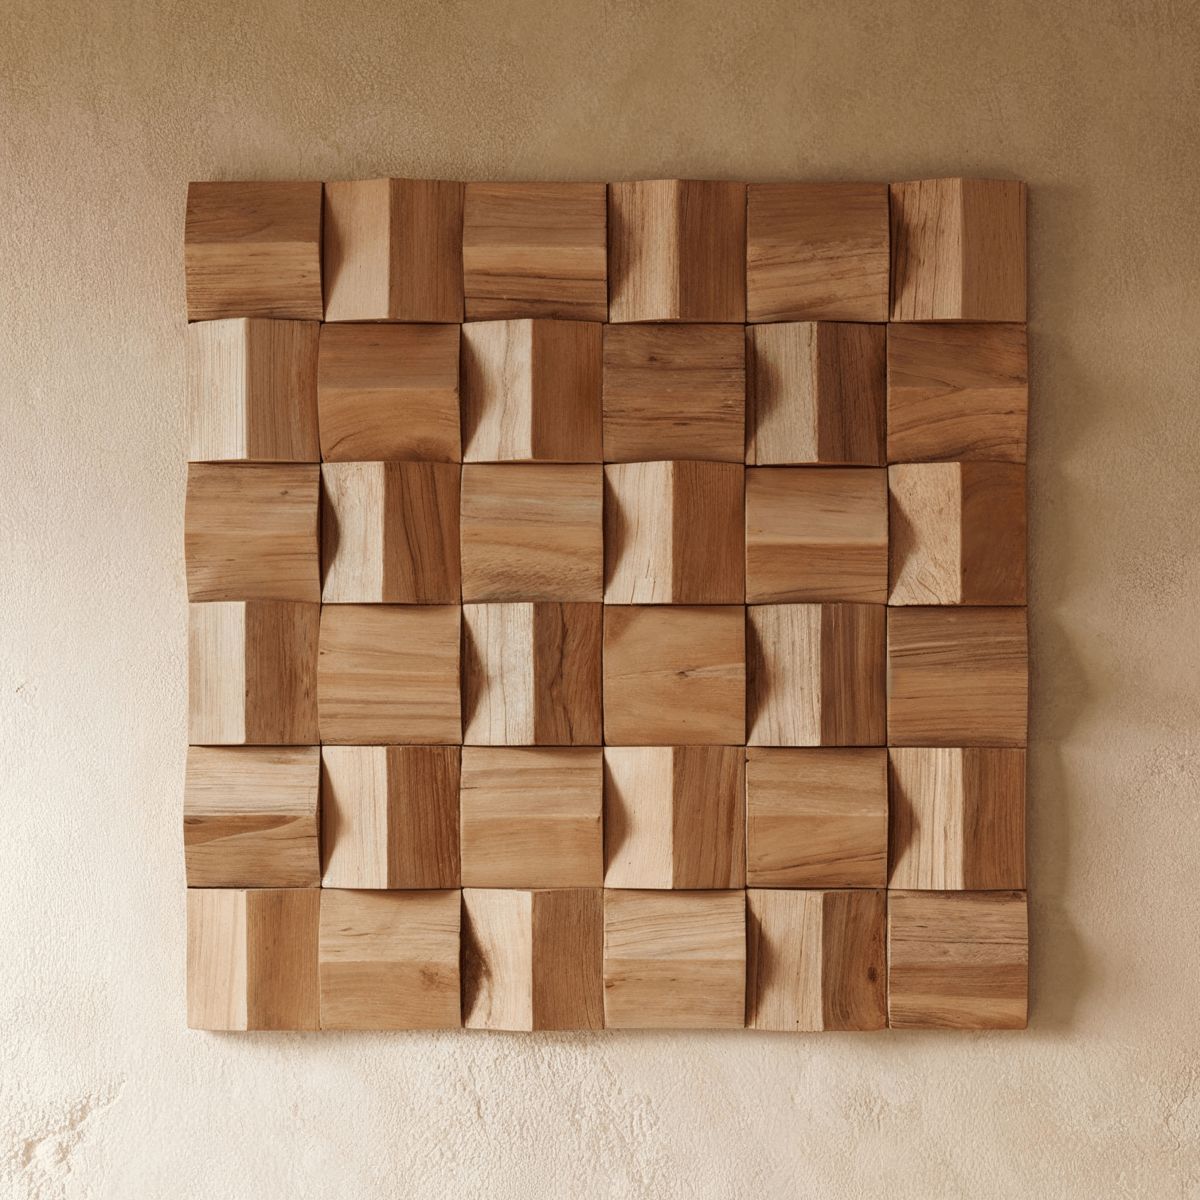
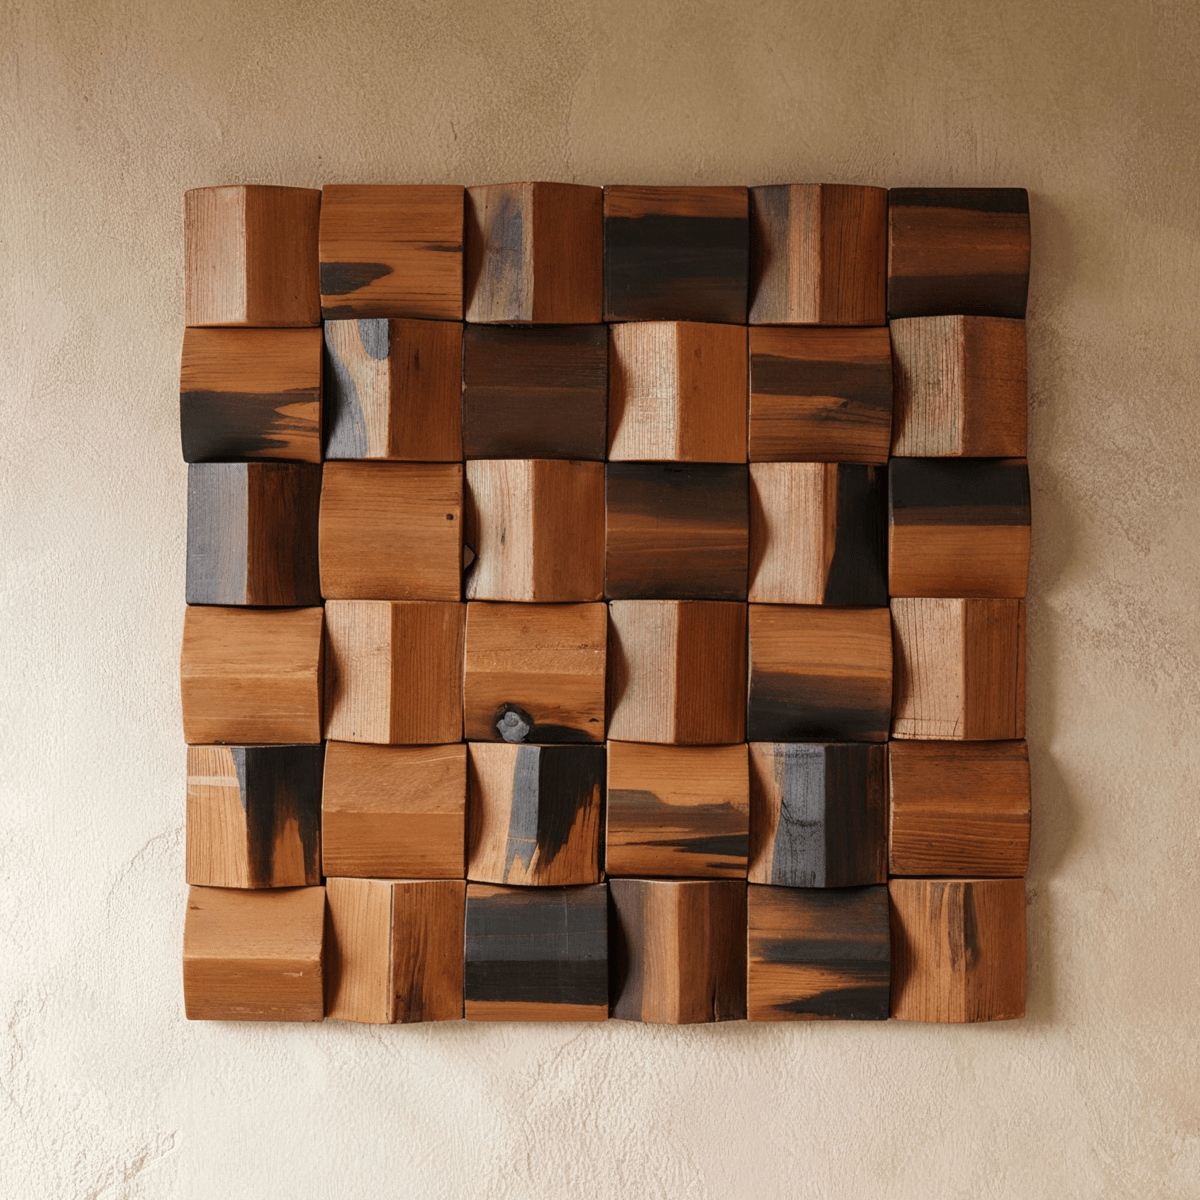
Monza Wall Panel
What You’ll Love:
🎨 Sculptural Mosaic Texture A distinctive 3D wood pattern adds depth, warmth, and refined visual interest
🔇 Improved Acoustic Comfort Thoughtfully designed to reduce echo and enhance sound quality in everyday spaces
🛠️ Easy Wall or Ceiling Install Simple application makes it ideal for DIY projects or professional interiors
Description
The Monza Wall Panel combines sculptural design with acoustic performance, transforming walls and ceilings into refined architectural features. Crafted from solid wood, its three-dimensional mosaic pattern adds depth and texture while introducing a warm, natural character that elevates both residential and professional interiors.
Designed to improve sound quality as well as visual impact, the Monza Wall Panel helps reduce echo and create a calmer, more balanced environment. Easy to install and suited to flexible applications, it offers a considered solution for spaces that value both aesthetic clarity and everyday functionality.
- Product Dimensions:
L 12" x H 12" (30 x 30 cm) - Material: Wood
- Finish: Natural, Walnut
- Area: Living Room, Bedroom, Dining Room, Office
NOTE
1 in = 2.54 cm; 1 cm = 0.39 in
General Preparation (For All Installation Types)
Before beginning installation:
- Ensure walls are clean, dry, and smooth
- Remove dust, grease, nails, and flaky paint
- Measure and mark your starting line using a level and pencil
- Lay panels on the floor first to visualize placement and pattern
Recommended Tools
- Tape Measure
- Level
- Pencil or Chalk Line
- Utility Knife or Fine-Tooth Saw
- Clean Cloth
- Caulk Gun (for adhesive installation)
- Rubber Roller (for peel-and-stick panels)
- Brad Nail Gun (for nail installation)
Nail Gun Installation
Ideal for: Thicker or heavier panels (wood, MDF)
Requires: Brad nail gun or finish nailer
Step-by-Step
- Locate wall studs using a stud finder and mark their positions.
- Start at the bottom corner of the wall.
- Align the first panel to your guideline.
- Fasten the panel into studs using a brad nail gun
Space nails every 12–16 inches - Fit subsequent panels tightly and continue fastening.
- Fill nail holes with wood filler or color-matched putty.
- Optional: Apply caulk between panels for seamless joints.
Tip: Leave a 1/8" expansion gap at edges when installing wood-based panels.
Peel-and-Stick Installation
Ideal for: Lightweight panels with pre-applied adhesive
Requires: Clean, primed surface and rubber roller
Step-by-Step
- Wipe the wall clean to remove dust and grease. Allow to dry fully.
- Measure and draw a level starting line.
- Peel off the adhesive backing from the first panel.
- Align carefully and press onto the wall, starting from one edge.
- Use a rubber roller to apply even pressure across the panel.
- Continue installing panels tightly edge-to-edge.
Tip: Avoid repositioning panels—adhesive bonds strongest on first contact.
Glue-On Installation
Ideal for: Panels without adhesive (solid PVC, composite, acoustic panels)
Requires: Construction adhesive or latex panel glue
Step-by-Step
- Clean the wall surface thoroughly.
- Apply adhesive in an “S” or zig-zag pattern on the back of the panel.
- Align the panel with guide marks and press firmly onto the wall.
- Use painter’s tape to hold panels in place if necessary.
- Repeat for remaining panels, ensuring level alignment and consistent spacing.
- Wipe away any adhesive squeeze-out with a damp cloth.
Tip: Allow adhesive to cure for 24–48 hours before applying pressure or weight
- Order Handling Time:
1–3 business days
- Transit Time:
14–22 business days after order placement
- Estimated Delivery Time:
15–25 business days
For full details, please refer to our Shipping Policy
We offer a 30-day return window. Simply contact our support team info@solincollective.com to initiate a return.
Claims submitted after this period may not be eligible for a refund or replacement.
Choose options
Safe payment on our website
Monza Wall Panel
Frequently Asked Questions
The Monza Wall Panel features a mosaic design with a three-dimensional surface that adds visual depth while supporting improved acoustics.
They are suitable for residential and office environments, including living rooms, bedrooms, conference rooms, and workspaces.
The three-dimensional surface helps reduce echo and enhance overall acoustic comfort.
Yes. They can be installed on clean, flat walls using construction adhesive or double-sided tape.
They are not a full soundproofing solution, but they help reduce echo and improve sound quality within a space.